Culverts
Culvert Install and County Requirements
What a culvert is
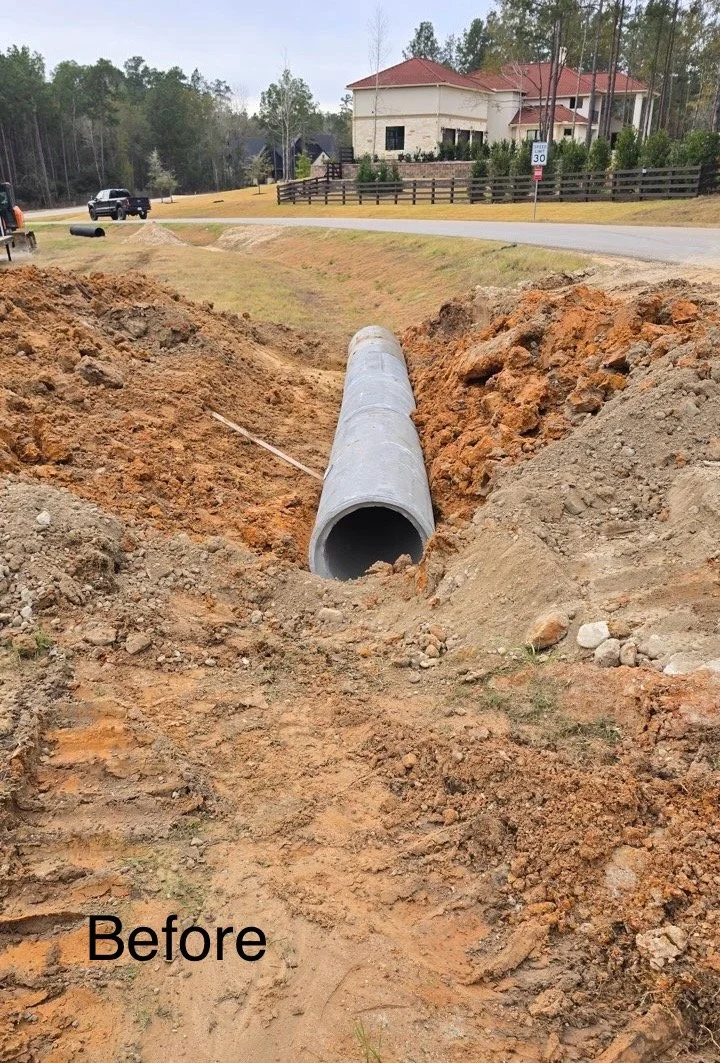
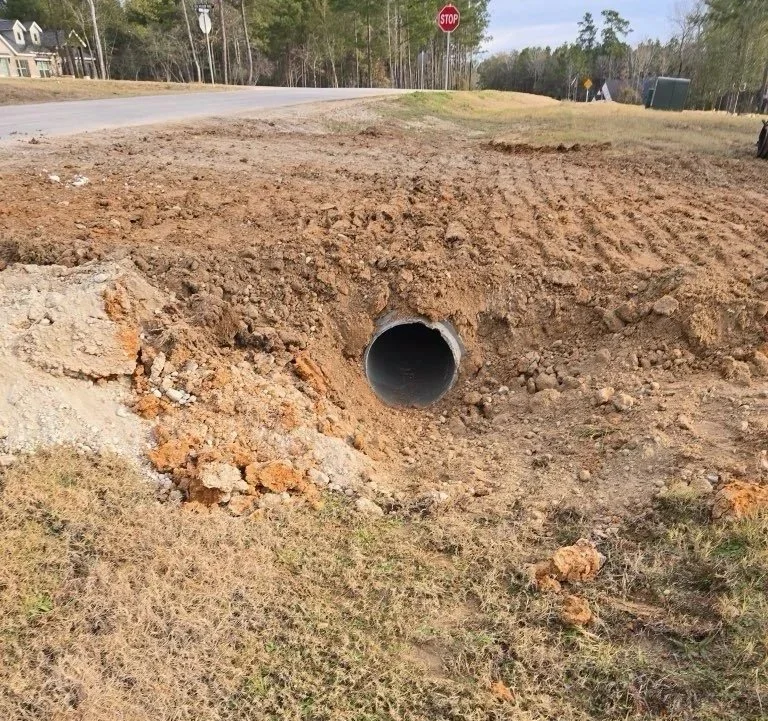
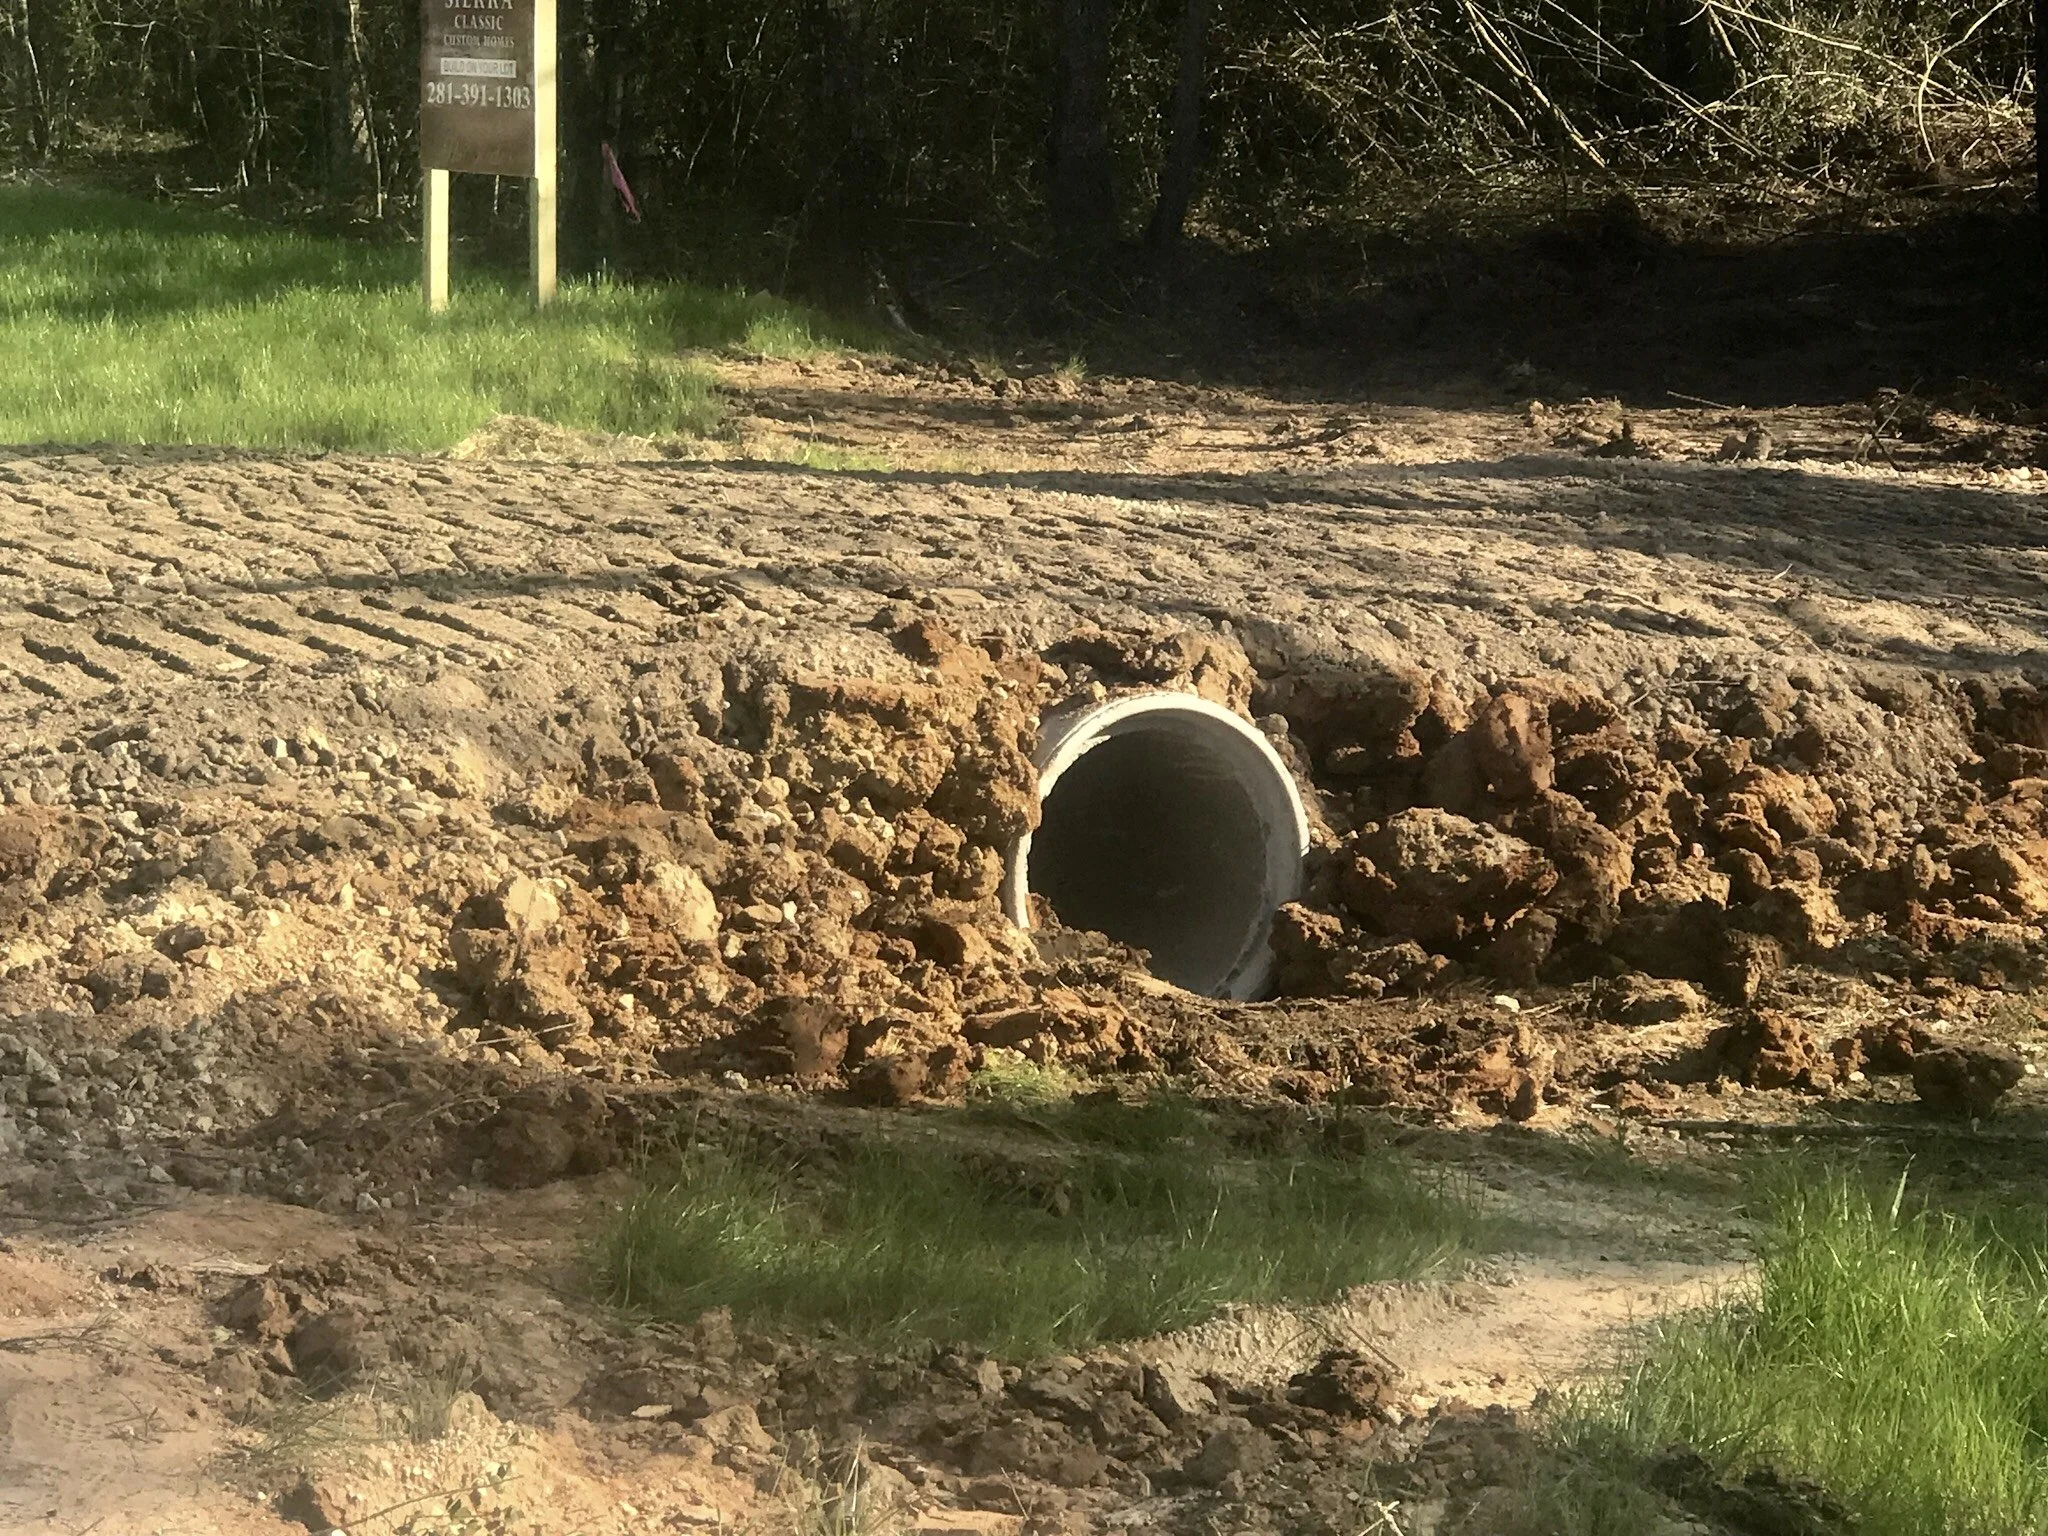
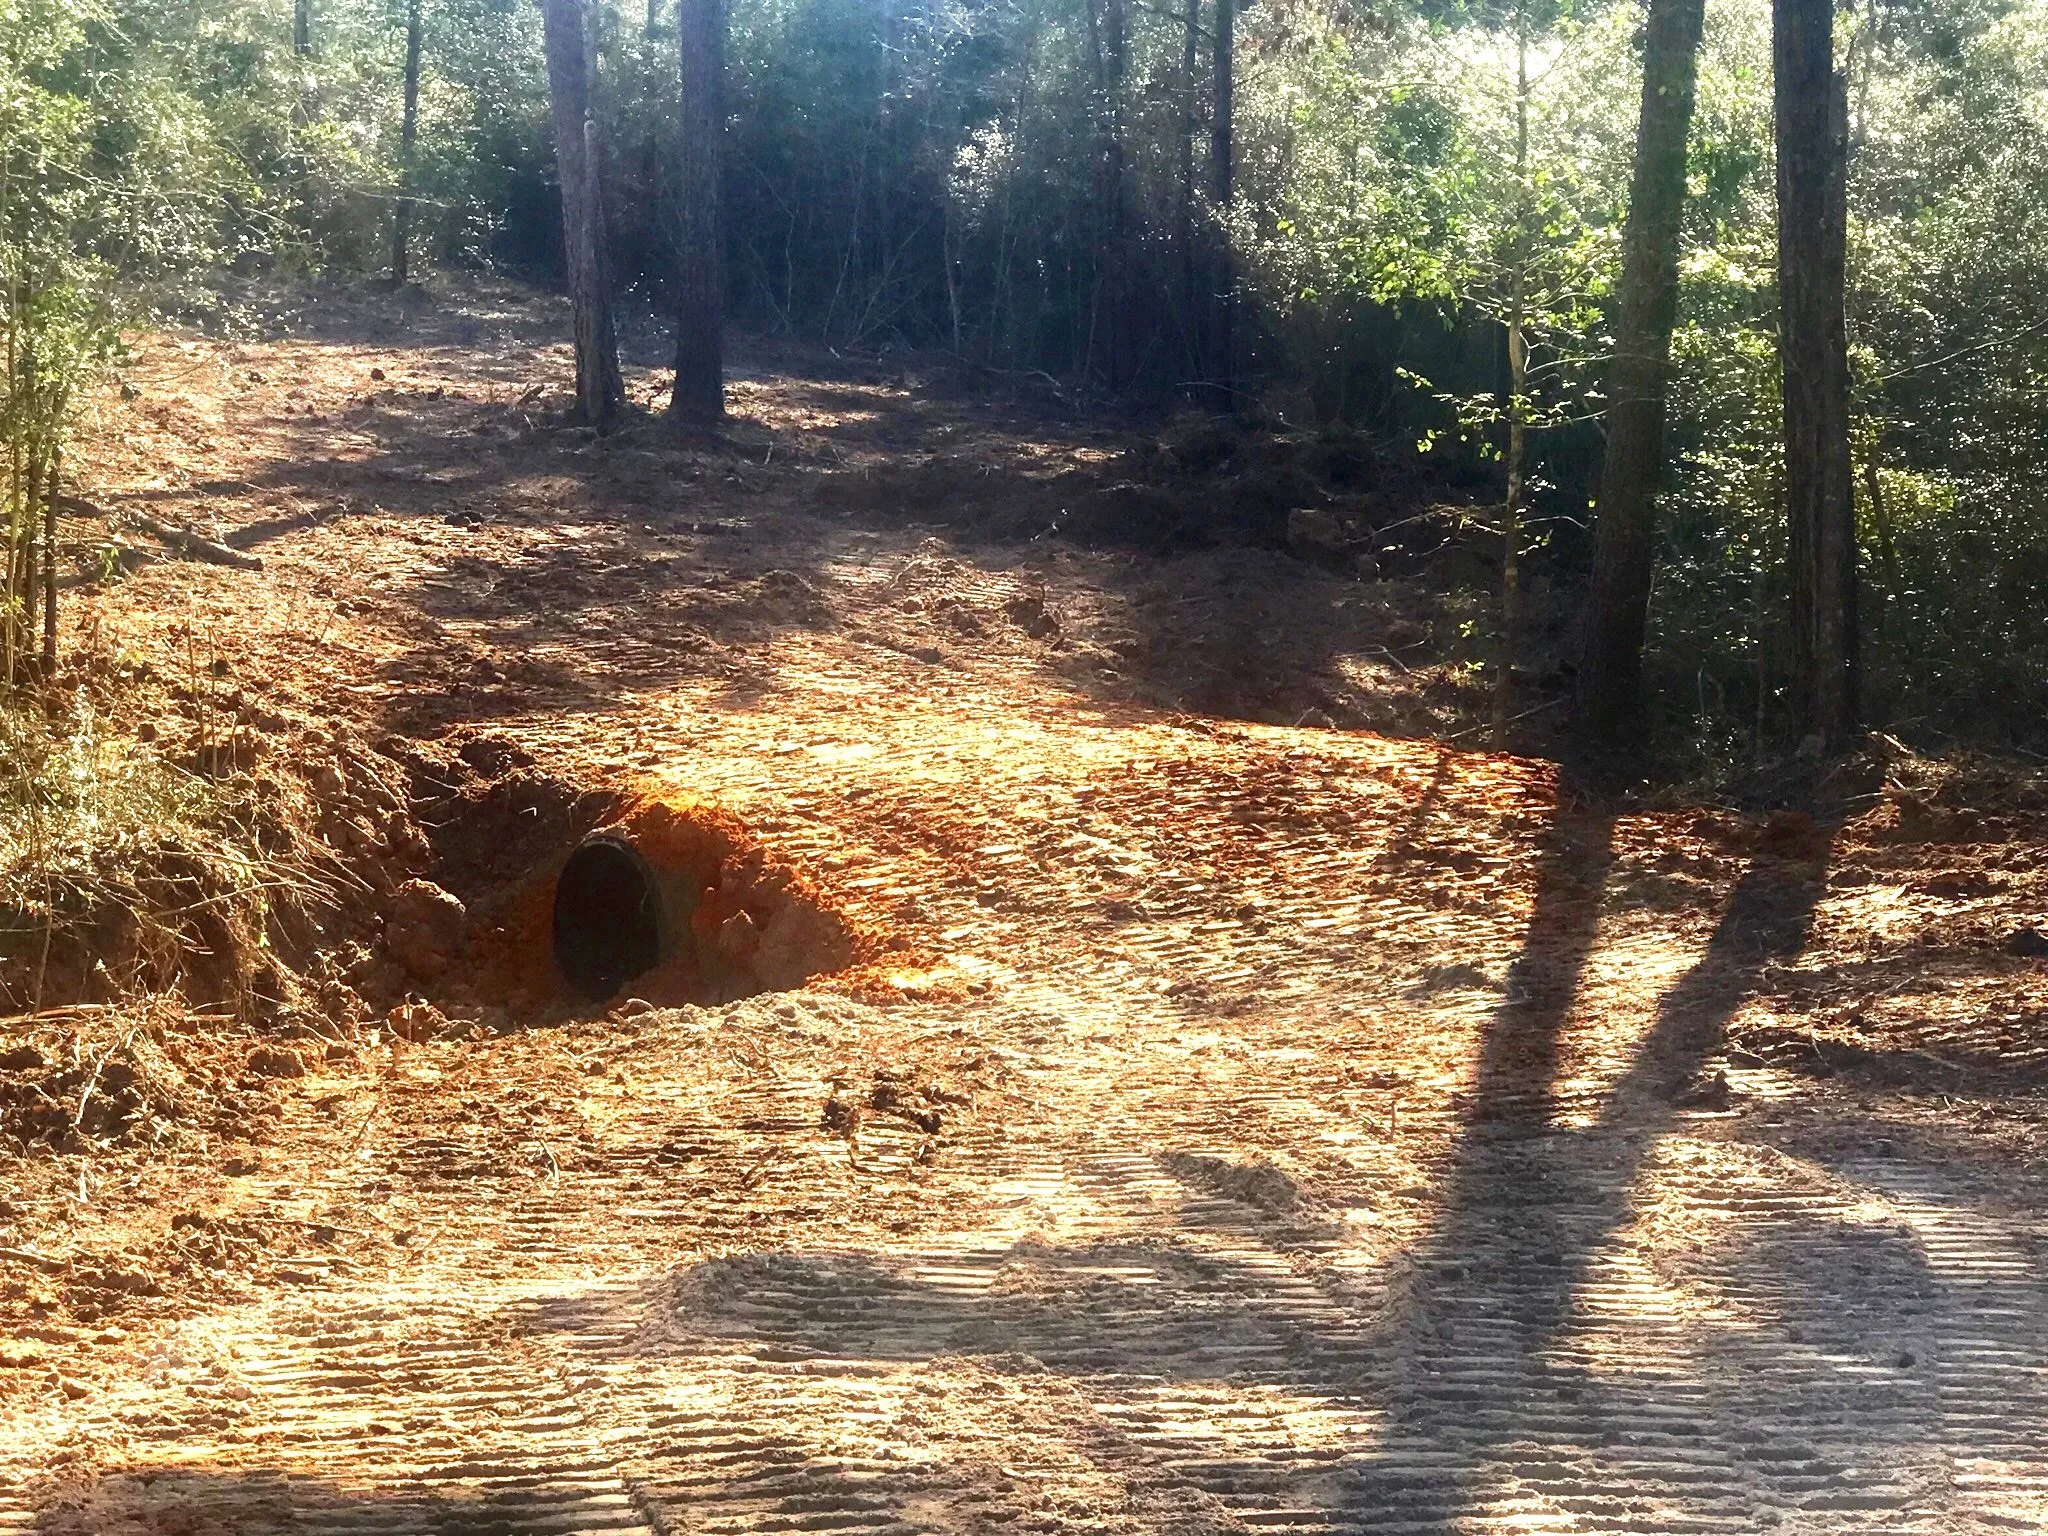
A culvert is a pipe or boxed structure installed under a driveway, road, or driveway entrance to channel water from one side to the other.
Common materials: corrugated metal pipe (CMP), high-density polyethylene (HDPE), reinforced concrete pipe (RCP), and concrete box culverts.
Proper sizing, bedding, backfill, and end treatments are essential to prevent washouts, road damage, and downstream erosion.
Typical county requirements and permits (general guidance — check your county)
Permit: Most counties require a permit for installing or replacing culverts in public road easements, driveways that cross county rights-of-way, or where work affects drainage patterns.
Setbacks and driveway approach standards: Counties often have rules about where a culvert may be placed relative to property lines, ditch grades, and intersection sightlines.
Size and design standards: Counties commonly specify minimum diameters and design flows. For example, many rural counties require a culvert sized to pass the 10-year or 25-year runoff event; the required size depends on watershed area and local rainfall data.
Material and installation standards: Acceptable materials, bedding depth, compaction requirements, and end treatments (headwalls, flared end sections, rock aprons) are often specified.
Environmental and drainage approvals: Work that affects streams, wetlands, or floodplains may need additional permits from county, state, or federal agencies; mitigation and erosion control measures may be required.
Traffic and safety requirements: If work occurs on or near a public road, counties typically require traffic control plans, signage, and possibly inspector presence.
As-built documentation: Some counties require as-built drawings or inspections after installation to confirm compliance.
Steps to a compliant culvert installation
Contact the county permitting office
Ask about driveway or drainage permits, design standards, and submittal requirements (site plan, drainage calculations, culvert specification).
Determine culvert size and type
Use watershed area, slope, and local rainfall data to calculate peak flow, or follow county-specified sizing tables. If unsure, hire a civil engineer or experienced contractor.
Prepare an installation plan
Show location, pipe type and size, invert elevations, required end treatments, erosion control (silt fence, sediment traps), and traffic control.
Obtain required permits and approvals
Submit plans and pay permit fees. Wait for approval before beginning work.
Excavate and prepare bedding
Excavate trench/roadway to proper depth and grade; provide stable bedding (often compacted granular material or concrete cradle) per county specs.
Install pipe and backfill
Place culvert on proper grade, ensure joints are seated; backfill in lifts and compact to required density to prevent settlement.
Install end treatments and erosion control
Use headwalls, flared end sections, riprap, or vegetation as required to prevent erosion and protect the inlet/outlet.
Inspection and final approval
Schedule any required inspections during or after installation. Provide as-built info if requested.
Common pitfalls and how to avoid them
Undersized culvert: Leads to overtopping and roadway failure. Avoid by following county sizing rules or consulting an engineer.
Poor bedding/backfill or inadequate compaction: Causes pipe deformation and settlement. Use specified bedding material and compact in lifts.
No permit or wrong location: Can lead to fines and rework. Always check with county before starting.
Neglecting erosion control: Results in downstream sedimentation and permit violations. Install silt fences, stabilize disturbed soil, and use riprap where required.
Improper end treatments: Increases erosion and maintenance. Use flared ends, headwalls, or rock aprons as specified.
JCL SITE SERVICES, INC. — how we can help
Experience: 30+ years insured experience in residential site prep, dirt work, land clearing, grading, and pond/crossing work.
Services: Site evaluation, drive/culvert sizing recommendations, permit guidance, excavation, bedding and compaction, culvert installation, end treatments, and final grading.
Local knowledge: Based in Splendora, TX — familiar with local county requirements and typical drainage conditions in surrounding areas.
We handle inspections coordination, and ensure installations meet county standards so your driveway or crossing is safe and compliant.
If you’d like, we can review your property location and determine permit needs and probable culvert size, and provide a written estimate for installation.
CALL US TODAY TO GET STARTED ON YOUR PROJECT!
Culvert Install and County Requirements
What a culvert is
A culvert is a pipe or boxed structure installed under a driveway, road, or driveway entrance to channel water from one side to the other.
Common materials: corrugated metal pipe (CMP), high-density polyethylene (HDPE), reinforced concrete pipe (RCP), and concrete box culverts.
Proper sizing, bedding, backfill, and end treatments are essential to prevent washouts, road damage, and downstream erosion.
Typical county requirements and permits (general guidance — check your county)
Permit: Most counties require a permit for installing or replacing culverts in public road easements, driveways that cross county rights-of-way, or where work affects drainage patterns.
Setbacks and driveway approach standards: Counties often have rules about where a culvert may be placed relative to property lines, ditch grades, and intersection sightlines.
Size and design standards: Counties commonly specify minimum diameters and design flows. For example, many rural counties require a culvert sized to pass the 10-year or 25-year runoff event; the required size depends on watershed area and local rainfall data.
Material and installation standards: Acceptable materials, bedding depth, compaction requirements, and end treatments (headwalls, flared end sections, rock aprons) are often specified.
Environmental and drainage approvals: Work that affects streams, wetlands, or floodplains may need additional permits from county, state, or federal agencies; mitigation and erosion control measures may be required.
Traffic and safety requirements: If work occurs on or near a public road, counties typically require traffic control plans, signage, and possibly inspector presence.
As-built documentation: Some counties require as-built drawings or inspections after installation to confirm compliance.
Steps to a compliant culvert installation
Contact the county permitting office
Ask about driveway or drainage permits, design standards, and submittal requirements (site plan, drainage calculations, culvert specification).
Determine culvert size and type
Use watershed area, slope, and local rainfall data to calculate peak flow, or follow county-specified sizing tables. If unsure, hire a civil engineer or experienced contractor.
Prepare an installation plan
Show location, pipe type and size, invert elevations, required end treatments, erosion control (silt fence, sediment traps), and traffic control.
Obtain required permits and approvals
Submit plans and pay permit fees. Wait for approval before beginning work.
Excavate and prepare bedding
Excavate trench/roadway to proper depth and grade; provide stable bedding (often compacted granular material or concrete cradle) per county specs.
Install pipe and backfill
Place culvert on proper grade, ensure joints are seated; backfill in lifts and compact to required density to prevent settlement.
Install end treatments and erosion control
Use headwalls, flared end sections, riprap, or vegetation as required to prevent erosion and protect the inlet/outlet.
Inspection and final approval
Schedule any required inspections during or after installation. Provide as-built info if requested.
Common pitfalls and how to avoid them
Undersized culvert: Leads to overtopping and roadway failure. Avoid by following county sizing rules or consulting an engineer.
Poor bedding/backfill or inadequate compaction: Causes pipe deformation and settlement. Use specified bedding material and compact in lifts.
No permit or wrong location: Can lead to fines and rework. Always check with county before starting.
Neglecting erosion control: Results in downstream sedimentation and permit violations. Install silt fences, stabilize disturbed soil, and use riprap where required.
Improper end treatments: Increases erosion and maintenance. Use flared ends, headwalls, or rock aprons as specified.
JCL SITE SERVICES, INC. — how we can help
Experience: 30+ years insured experience in residential site prep, dirt work, land clearing, grading, and pond/crossing work.
Services: Site evaluation, drive/culvert sizing recommendations, permit guidance, excavation, bedding and compaction, culvert installation, end treatments, and final grading.
Local knowledge: Based in Splendora, TX — familiar with local county requirements and typical drainage conditions in surrounding areas.
We handle inspections coordination, and ensure installations meet county standards so your driveway or crossing is safe and compliant.
If you’d like, we can review your property location and determine permit needs and probable culvert size, and provide a written estimate for installation.
CALL US TODAY TO GET STARTED ON YOUR PROJECT!